
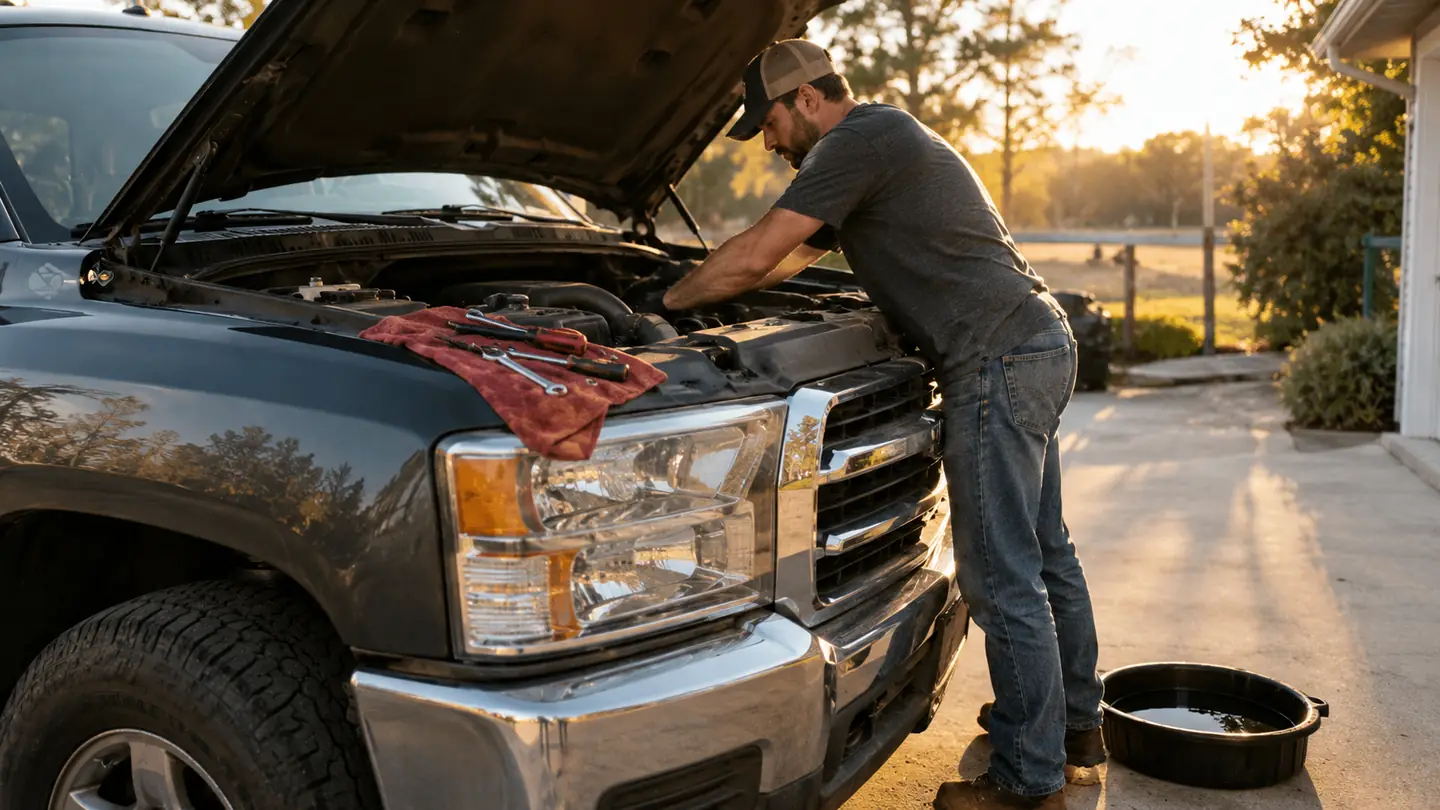
The most common oil change I see in my shop is the one that should have happened a month earlier. The truck runs fine, the owner plans to get to it next weekend, and next weekend turns into three weeks. Then the level drops, the lifters rattle on a cold start, and a thirty-minute job has turned into a two-hour one. I understand the hesitation. If you have never done it before, changing your own oil looks like a gamble with the most expensive thing you own. So you put it off, or you hand the keys to a quick-lube place and hope they use the right filter and the right weight and actually tighten the drain plug.
It is not a gamble. I have been a working mechanic for about thirty years, and changing oil in a pickup is one of the few jobs I would hand to a careful beginner without hovering. My own truck, a 2016 F-150 XLT, silver, with the 3.5L EcoBoost and more than 140,000 miles on it, gets its oil changed in my driveway. I use Mobil 1 Advanced Full Synthetic 5W-30, which is the weight the owner's manual calls for, and I have done this enough times that the whole job takes me about half an hour. Your first time will take about an hour. Here is exactly how I do it, including the steps people get wrong.
The oil I trust at 140,000 miles
Mobil 1 Advanced Full Synthetic 5W-30 is what my F-150 gets every single change. It is the one part of this job you do not have to think twice about, and it is the oil I recommend to customers who ask.
Amazon Check Today's Price on Amazon →Step 1: Warm up the engine and get the truck level
Cold oil drains slowly, and I do not mean a little slowly. I mean the difference between a clean ten-minute drain and a drippy twenty-minute one that leaves old oil sitting in the bottom of the pan. I take my truck for a ten-minute drive before I change the oil so the engine reaches operating temperature and the oil flows like water. If you cannot drive it, let it idle for five minutes. Just do not crawl under a truck that has been run hard. Give the exhaust and the oil pan time to cool so you do not burn your forearms on the way in.
Park on level ground. The drain plug sits at the low point of the oil pan, and the whole point of the job is to empty that pan. If the truck is nose-up on ramps or tilted in the driveway, a quart of old oil stays in a corner and mixes with the new oil. My driveway has a slight slope, so I pull the F-150 up until a four-foot level sitting on the frame reads flat. That takes one extra minute, and it is the difference between a full drain and a partial one.
One more thing before you start: chock the rear wheels and set the parking brake. If you are only reaching under for the drain plug, the truck is not going anywhere, but I have seen too many close calls to skip it. If you need more room and you are using a jack, put jack stands under the frame before you slide under. A floor jack is for lifting. Jack stands are for holding. I say that to customers about once a week.
Step 2: Lay out your tools before you crawl under the truck
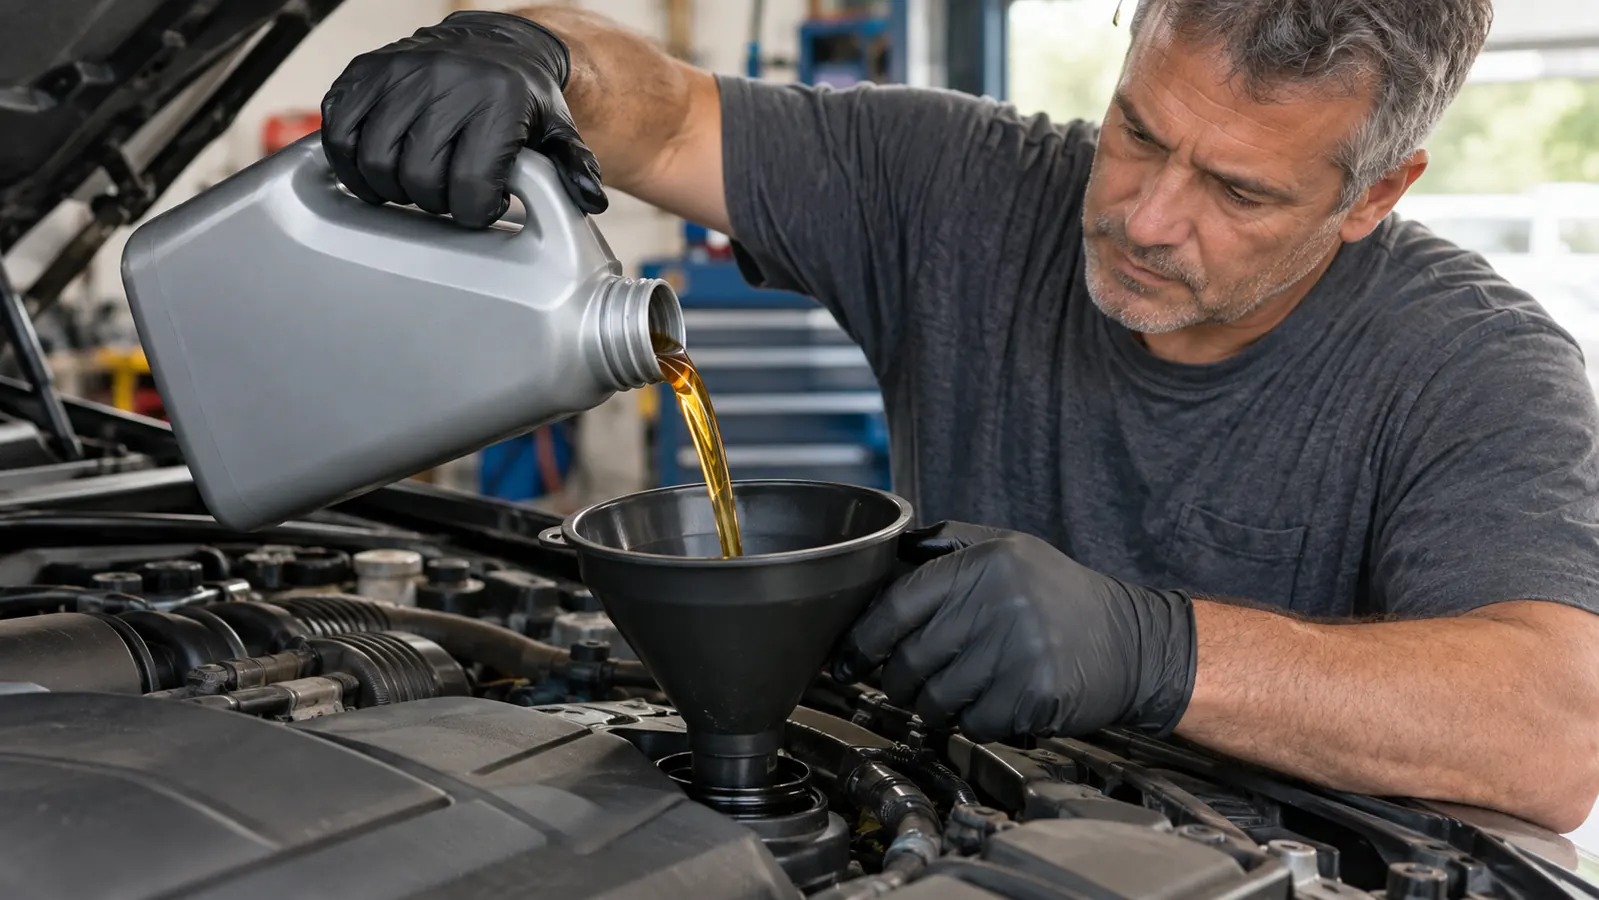
Nothing wastes time like realizing you are missing one tool with the old oil already draining. Before I get under the truck, I lay everything out on a shop rag on the fender: a 15mm socket for the drain plug on my truck, a ratchet, an oil filter cap wrench that fits the Motorcraft FL-500S filter, a drain pan that holds at least eight quarts, a funnel, and a pair of nitrile gloves. The filter wrench is the one thing people skip, and then they spend twenty minutes fighting a filter that is mounted in the worst possible spot.
I also put the new oil and the new filter within arm's reach before I start. My F-150 takes six quarts with a filter, so I buy the five-quart jug of Mobil 1 and a separate quart. That way I am not halfway through the job before I realize I forgot the filter, which means a trip to the parts store with a truck that is not going anywhere. Set everything out first. It takes two minutes, and it saves you from improvising with a strap wrench at an angle that does not work.
Pick a drain pan with a lid if you can find one. The old oil needs to go somewhere, and the best way to handle it is to pour it straight from the drain pan back into the empty jugs, cap them, and drop them at any auto parts store. Most of them take used oil for free. Do not pour it down the drain and do not leave it in an open pan in the garage, because a pet or a kid or a clumsy adult will knock it over. I use a pan that holds the whole drain, then I funnel the old oil into the empty Mobil 1 jug right there in the driveway.
Step 3: Drain the old oil and read what it tells you
With the truck level and the engine warm, I slide the drain pan under the plug and break the plug loose with the ratchet. I turn it by hand for the last few threads and push against the plug as I unscrew it, so the oil does not blast past my fingers and up my sleeve. The oil comes out fast when it is warm, and it will be hot, which is why the gloves are not optional. Let it drain until it slows to a drip. On my truck that is a good ten minutes, so I use that time to move on to the filter.
While it drains, I check the old oil. I look at how dark it is and rub a drop between my fingers to feel for grit. If it is black and thin, or if there is anything metallic in it, something inside the engine is wearing, and that is worth a conversation with your mechanic sooner rather than later. On my F-150 after 7,500 miles, the oil comes out darker and a little thinner than when it went in, but it still feels slick between my fingers. That is what a healthy engine on a good full synthetic looks like at change time.
Before the plug goes back in, replace the crush washer. It is a soft metal ring that squashes flat when you tighten the plug, and it is the seal between the plug and the pan. A fresh one is inexpensive and it is the reason most drain plugs never leak. I tighten the plug until it is snug and then give it about a quarter turn more. You do not need to stand on the ratchet. I have seen stripped oil pan threads from people who treated the drain plug like a lug nut, and that repair turns a thirty-minute job into an afternoon.
Step 4: Swap the filter the right way
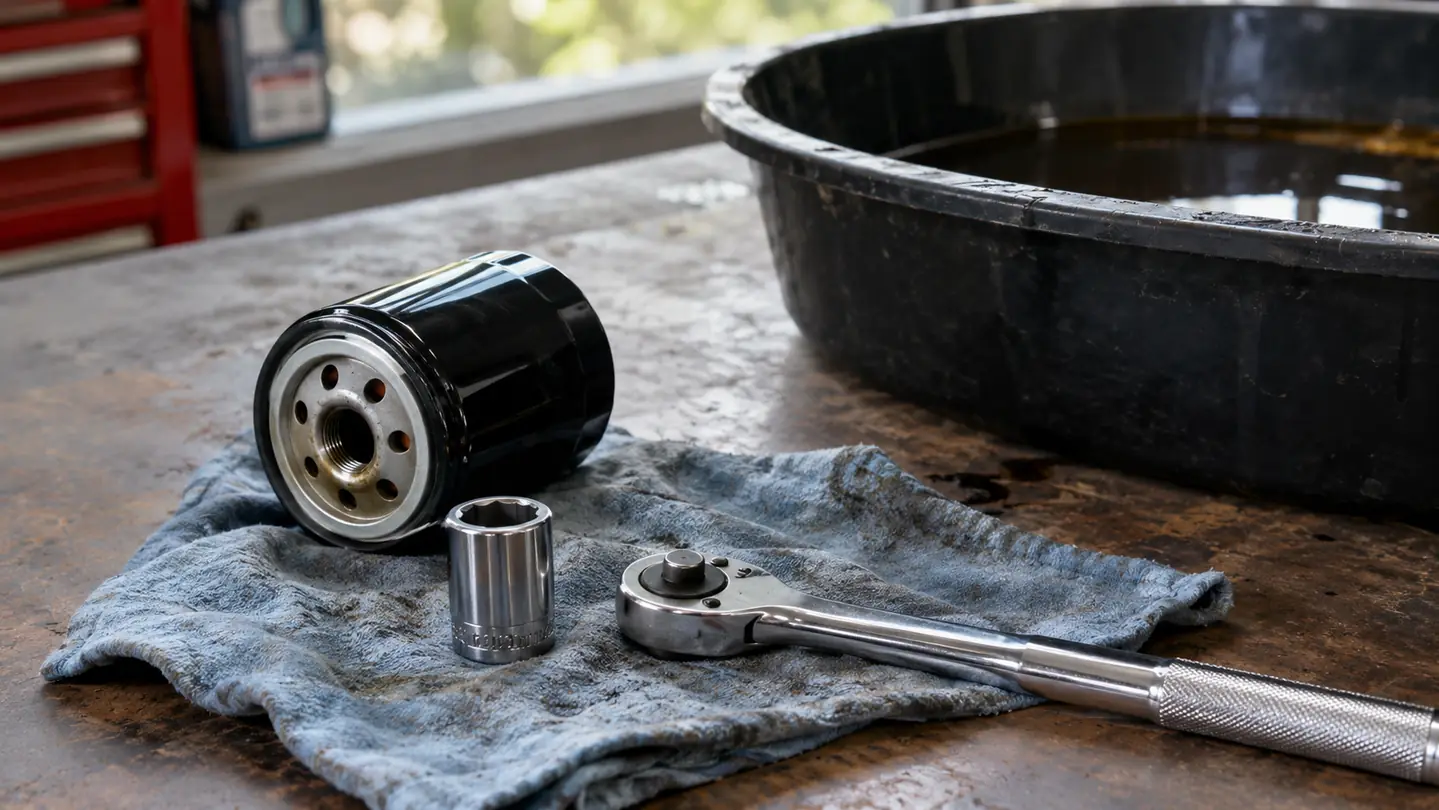
The filter on the 3.5L EcoBoost sits up front on the side of the block, which is easier to reach than most. I spin it off with the cap wrench, and if it is stuck, I give it a few sharp taps with a rubber mallet to break the seal rather than crushing the can with a strap wrench. Before the new filter goes on, I wipe the mounting surface clean with a rag and put a thin coat of fresh oil on the rubber gasket. That step is not optional. A dry gasket can grab and wrinkle as it seats, and a wrinkled gasket will leak.
Then I thread the new filter on by hand until the gasket just touches, and I give it three-quarters of a turn more. That is the spec for most Motorcraft filters, and the filter seats itself a little tighter as the engine runs and the gasket compresses. I have seen more leaks in the shop from overtightened filters than from loose ones. People crank them on with a wrench because they are afraid of a drip, and then the next oil change turns into a fight. Hand-tight plus three-quarters of a turn. That number is worth remembering.
Before I throw the old filter away, I give it a squeeze. If it feels crunchy, I cut the can open and look at the paper element. What you are checking for is metal flakes, which means something inside the engine is wearing. On my last few changes the filter has been clean, which is what I expect at 140,000 miles on an engine that has been on full synthetic its whole life. If you find metal in a filter, that is not a reason to panic. It is a reason to change the oil on schedule and keep an eye on it. If it gets worse, then it is time for a compression test.
Step 5: Refill, check the level, and look for leaks
My truck takes six quarts with a filter, so I pour in the full five-quart jug of Mobil 1 first, using a funnel and pouring slowly. Then I start the engine and let it run for about thirty seconds. That fills the new filter and pushes oil through the whole system. I shut it off, wait three or four minutes for the oil to settle back into the pan, and check the dipstick. From there I add the last quart in half-quart increments, checking the stick between pours. The full mark is the goal. Anything above it is just oil that is going to burn off and smell, and anything below it is a dry start waiting to happen.
Before I call it done, I crawl under one more time with a flashlight and check the drain plug and the filter for leaks. I wipe the area around the plug with a rag and run my hand along the filter gasket, then I look at the ground under the truck. If it is dry, I write the date and the mileage on the top of the filter with a permanent marker. The sticker in the corner of the windshield works too, but the marker stays with the part, so I never have to wonder whether the last guy actually did the job. Then I reset the oil life monitor in the truck's settings menu and I am done.
One last habit: after the first cold start the next morning, I look at the ground where the truck was parked. A drip from a filter or a plug usually shows up in the first few hours, not weeks later. If the ground is dry, the job is done. If there is a drip, the fix is usually just snugging the plug or the filter a quarter turn. Better to find that in your own driveway than on the shoulder of the interstate.
What Else Helps
A few things make the second oil change easier than the first. I prefer a floor jack and a pair of jack stands over ramps because I can set the truck level and I trust stands more than I trust ramps on a hot Tulsa driveway. A pack of replacement crush washers is worth having on hand, and I keep a handful in my toolbox. I change my oil on a schedule, not on a feeling. The owner's manual for my truck says 7,500 miles under normal driving, and in Tulsa, with summer heat and short trips, I do it closer to 6,000. Full synthetic holds up to that easily.
One thing I will tell you to skip: oil additives and flushes. A good full synthetic like Mobil 1 already has detergents and dispersants in it, and it does not need help from a bottle that promises to restore your engine. I have seen more problems from people adding stuff to good oil than I have from people changing it late. If your engine has a real problem, an additive will not fix it, and your money is better spent on the correct oil and a filter on schedule.
I have seen more leaks from overtightened filters than from loose ones. Hand-tight plus three-quarters of a turn, and a fresh crush washer on the plug. That covers most of the leaks I chase in the shop.
The oil I pour in my own truck, every single change
Mobil 1 Advanced Full Synthetic 5W-30 is the oil that has carried my F-150 past 140,000 miles. When the rest of the job is new to you, this is the part you do not have to second-guess.
Amazon Check Today's Price on Amazon →